Hi guys,
Today we are going to create a simplified version of Space Invaders using Unity. Programming is not scope of this tutorial. So we are using few scripts for Visual Programming (actually condition-based scripts) I made for teaching Unity at my local university.
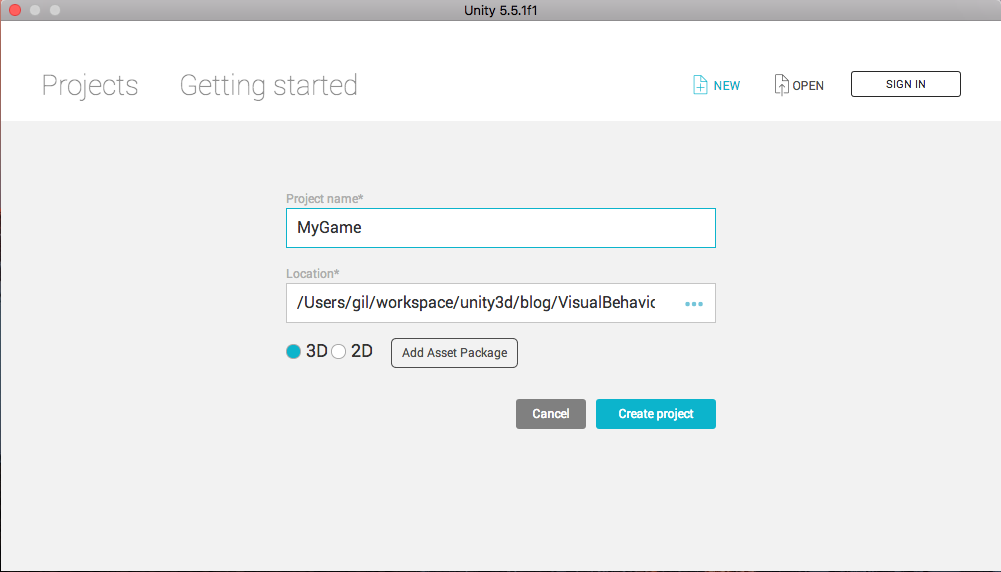
Let’s start creating a new project inside Unity editor by pressing new button in the start screen. Now, let’s naming the project ‘MyGame’ and we can also define the project path where Unity is going to create all default initial project files.
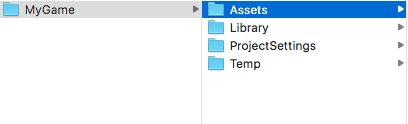
“MyGame” project created successfully! In the next figure, we can see the filesystem where Unity created three directories: Assets, Library and ProjectSettings.
Assets is where we should put files we’d like to use in our game: scripts, spritesheets, textures, 3d models, etc.
Library is used by Unity for generating assets for each build target. So here we are going to find the real spritesheets files that will be loaded by our game considering the configuration we choose. For example, we can choose a downscaled resolution for Android target and a heavier compression and resolution for Desktop target.
ProjectSettings stores our project configuration: project name and version, tags and layers systems, build targets, etc.
Temp is a temporary folder for assembling our necessary files into final build executable (.exe, .app, .apk, etc).
In a nutshell: Assets, ProjectSetttings are meant for files and configurations that will be changed by ourselves while developing a game. Library e Temp are only for Unity internal stuff, we should not change anything and neither add them to version control.
A important thing to understand is that Unity projects are made of scenes. Which scene corresponds to a part of the game experience, like for example, a menu scene, level 1 scene, boss level scene, etc. Inside each scene we can find a lot of objects that are meant to player interact with, like menus, characters, power-ups items. These objects are known as GameObjects. And each GameObject have few components that allows to change its main characteristics. We are going to understand better in the next steps of this tutorial.
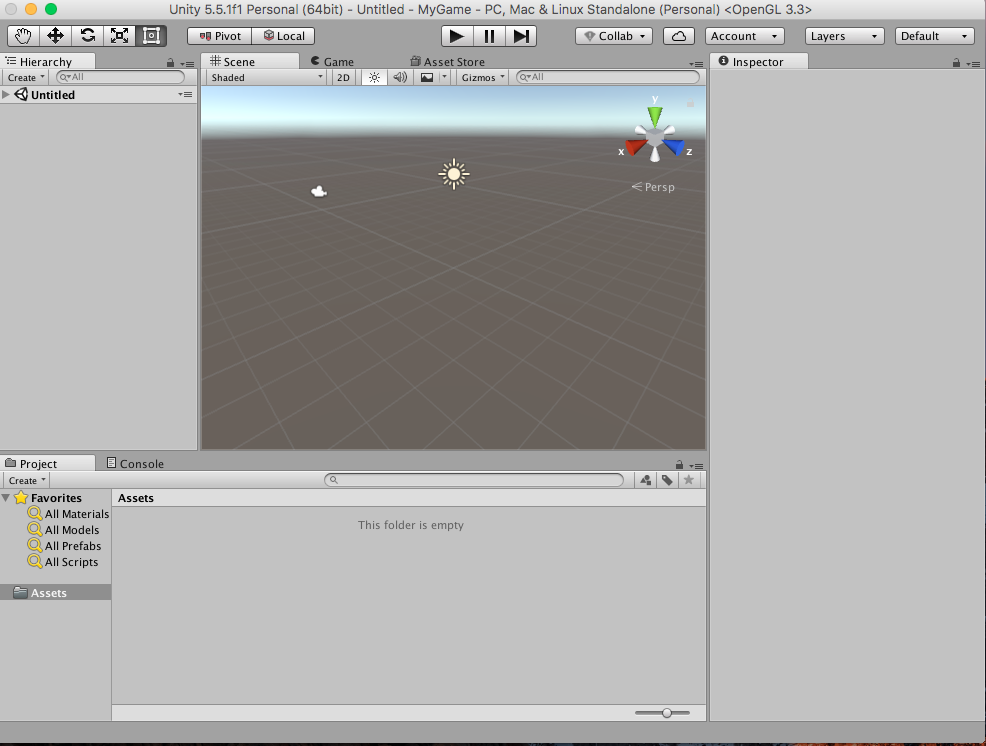
Unity interface is comprised by these main tabs:
- Hierarchy: shows which GameObjects are in scene.
- Inspector: allows to ‘inspect GameObjects’, to see its components and properties or to change project and assets configurations.
- Project: mirrors the filesystem in path ‘MyGame/Assets/’
- Scene: is a visualization into a specific point of game scene, where we can see and place GameObjects.
- Game: depicts the actual rendered game, the game being executed.
- Console: an important tab for development, shows scritpts warnings and errors.
- AssetStore: where we can download, buy and sell game assets of any type.
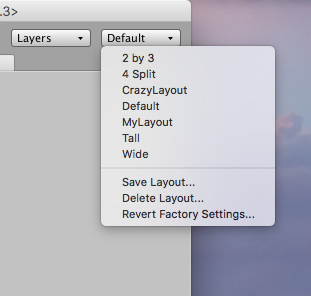
That’s the default tab layout. We can change it in the top right dropdown menu. Each option has a different tab layout. In addition we can also move freely our tabs and create and create our own layout by clicking ‘Save Layout’ option. In the image I’ve create my ‘CrazyLayout’.
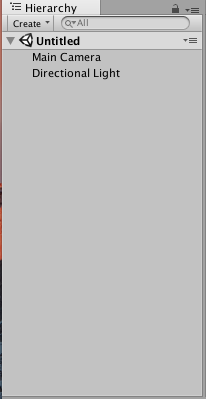
So far our game is comprised by two GameObjecs: “Main Camera” and “Directional Light”. The list of GameObjecs can be seen in Hierarchy tab:
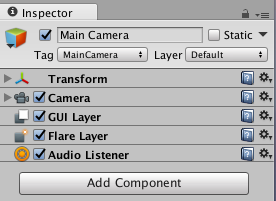
In Camera GameObject there are few components: Transform, Camera, GUILayer, FlareLayer and AudioListener.
The Camera component allows to render the game. It’s like a way to see what’s happening in game execution for a given position. Just like a real camera, it films our game scene and presents it to the player to be seen in Game tab.
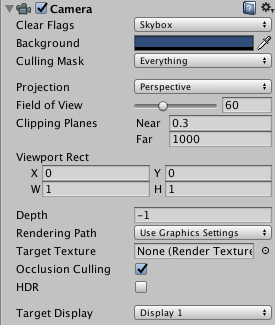
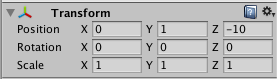
The Transform component has a very important role: it defines the position, rotation and scale of GameObjects in scene space.
Let’s create few folders in Project tab. Usually it’s recommended to follow a folder naming structure to ease the task of searching for assets while the projects grows up.
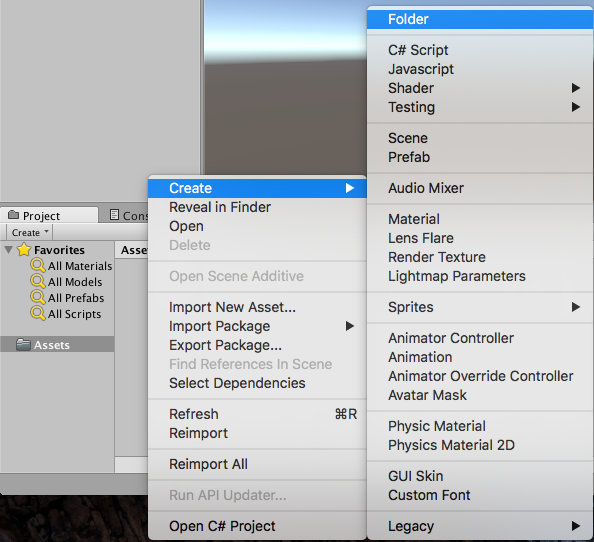
In this project we are going to use the following folders: Prefabs, Scenes and Scripts.
Let’s save our scene in Scenes/Game.unity.
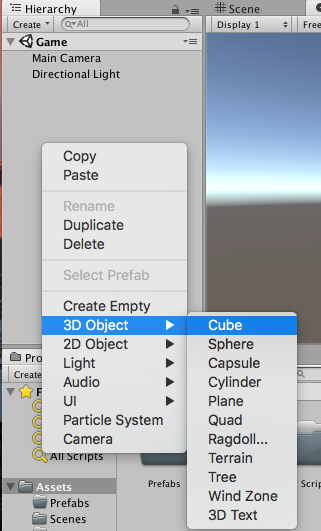
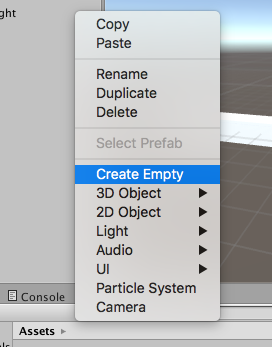
Unity has basic 3d elements (cube, sphere, cylinder, …) that we can use in our games. By clicking with right mouse button we see the options of the figure below and add the cube into game scene.
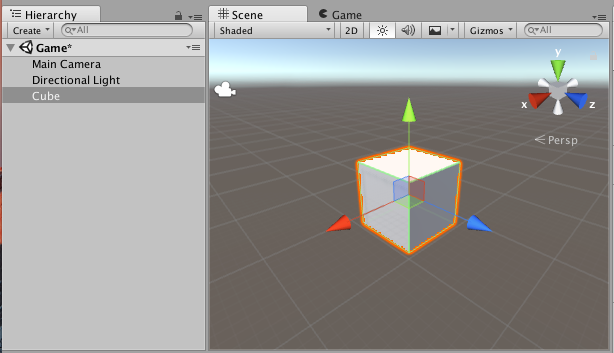
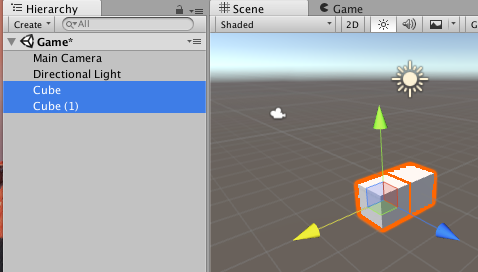
In Hierarchy tab we can check our added cube.
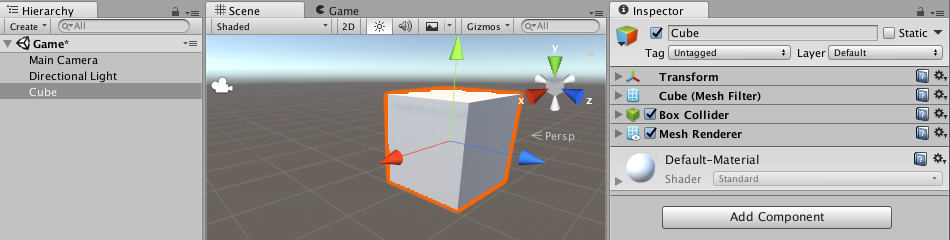
And in Inspector tab we can see its components:
- Transform: stores position, rotation and scale changes
- MeshFilter: has information about object 3D geometry (aka. Mesh)
- BoxCollider: an important component to detect collisions during game execution
- MeshRenderer: renders our cube using geometry information (Mesh data) from MeshFilter component and using informations from Materials.
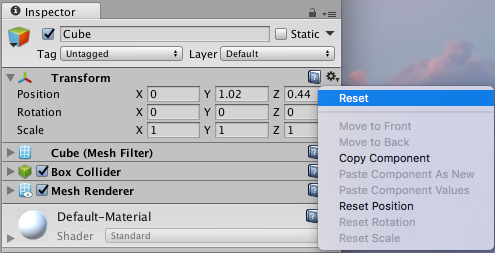
We can change cube position by editing Position field of Transform component. It’s also possible to just select and move arrows that shows up when selecting the cube. That kind of visual element is called Gizmo.
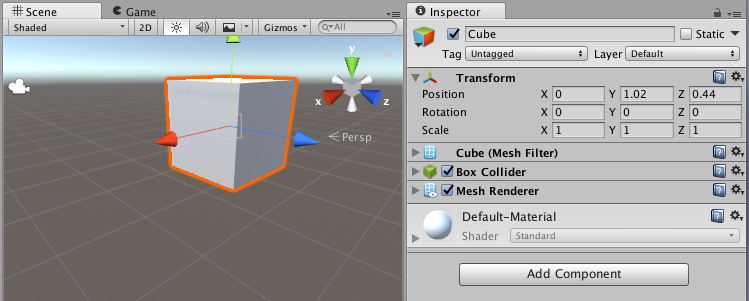
When interacting with those red, blue and green Gizmo we can see the cube moving in X,Z,Y axises. We also see the changes taking effect on Position field of Transform.
An useful tip: we can reset all modifications on transform by choosing Reset from component options (Top right small engine icon).
To ease our task of manipulating cubes, we are going to change snap configuration. In snap mode our cube can be dragged by a fixed amount.
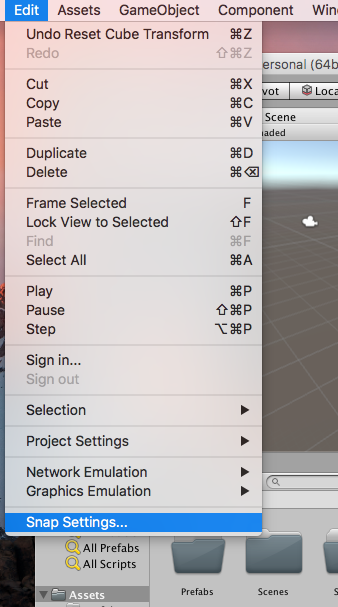
In Snap Settings window we can configure our GameObjects movement in snap movement. For now let’s leave the default settings as we can see in figure below.

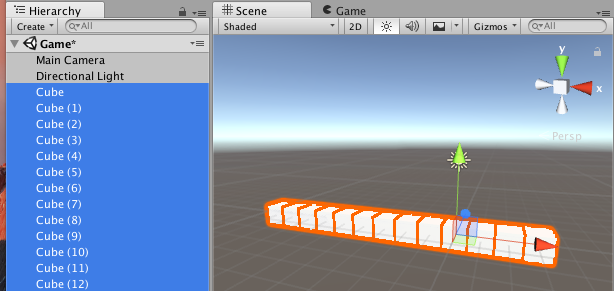
When pressing Ctrl+D or Cmd+D we can clone the selected GameObject. And when pressing Ctrl/Cmd we move GameObjects in snap increments.
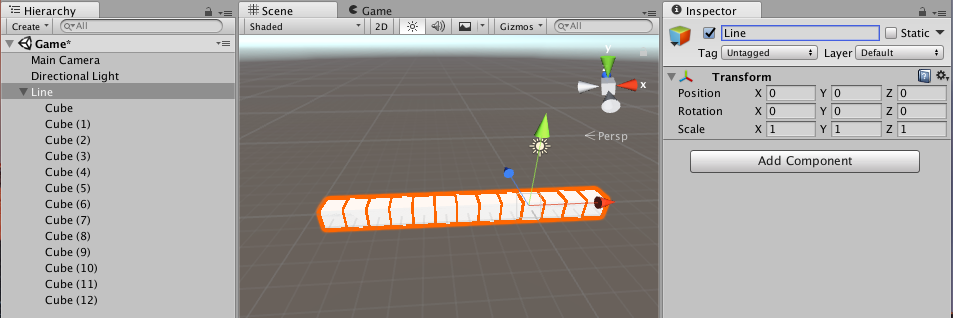
By cloning 13 cubes, i.e, pressing Ctrl+D or Cmd+D, we can make a line
The Empty option allows to create an empty GameObject with only Transform component.
Let’s rename the empty GameObject to Line and then reset Transform component to its default values. After selecting all cubes, we can drag them into Line GameObject on Hierarchy tab. Line is now the parent of all cubes. When selecting or moving Line we are also moving its children.
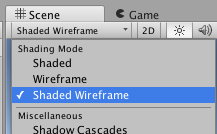
Changing scene shading options we can achieve a better visualization for our cubes.
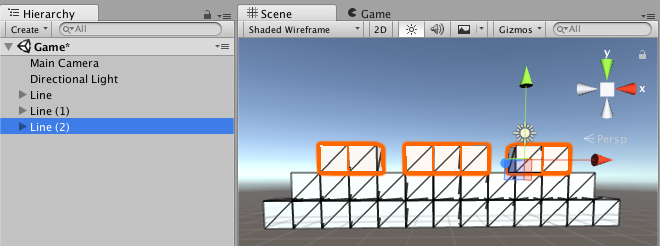
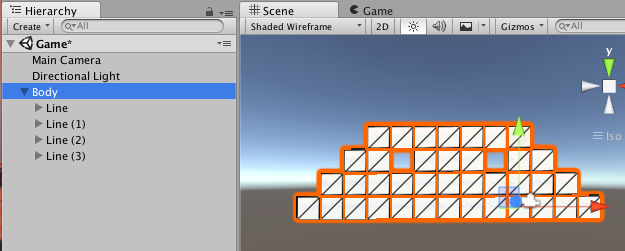
Now we clone the Line GameObject, what means we are also cloning all its 13 children cubes. In this way we can create two more lines and drag them up. And when select a specific cube we can also delete it by del/Cmd+del. So by repeating these basic steps, we can get the following structure.
Then we copy one more line to get the body of our character. To ease manipulating these objects, let’s create an empty Body GameObject, reset its Transform and put Line objects inside it as children.
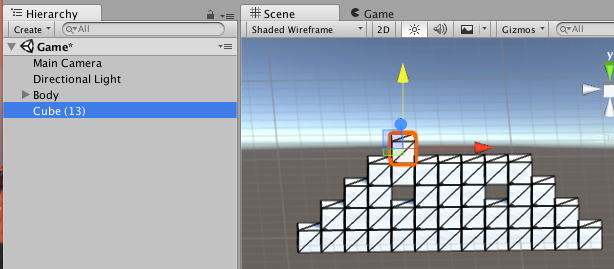
To create the antenna we need to copy only one cube.
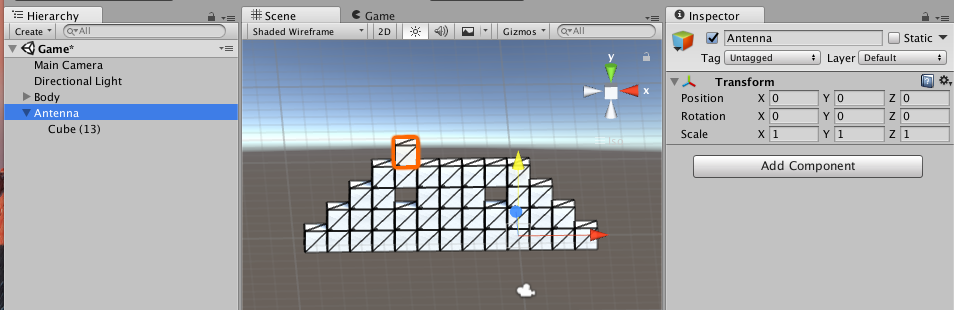
Let’s create an empty GameObject Antenna and reset its Transform and parenting that last created cube.
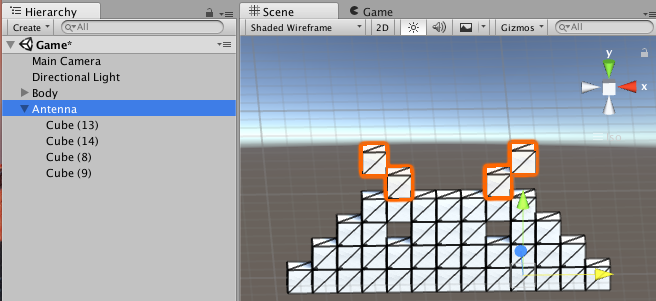
Cloning few more cubes we finish our Antenna.
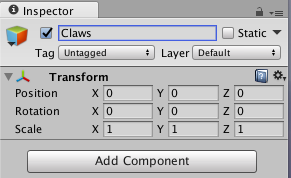
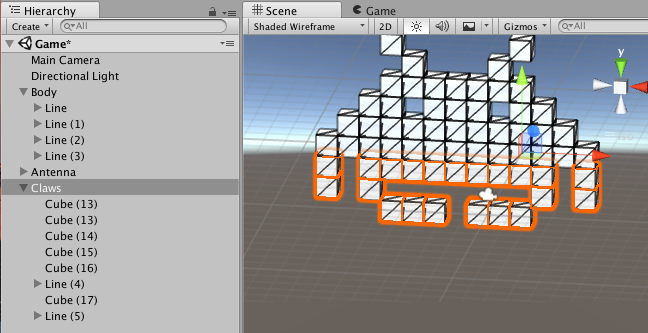
The next step is to create Claws GameObject and reset its Transform.
Clonning few more cubes as arranged in the below image, we finished the claws of our character.
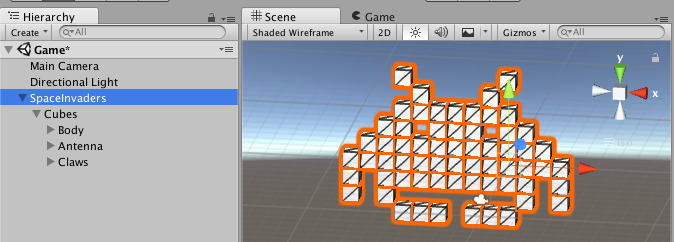
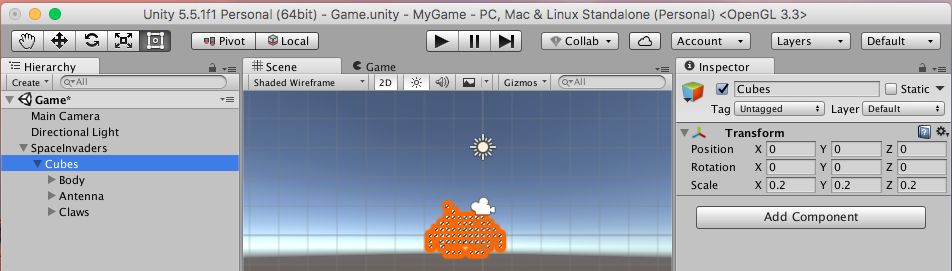
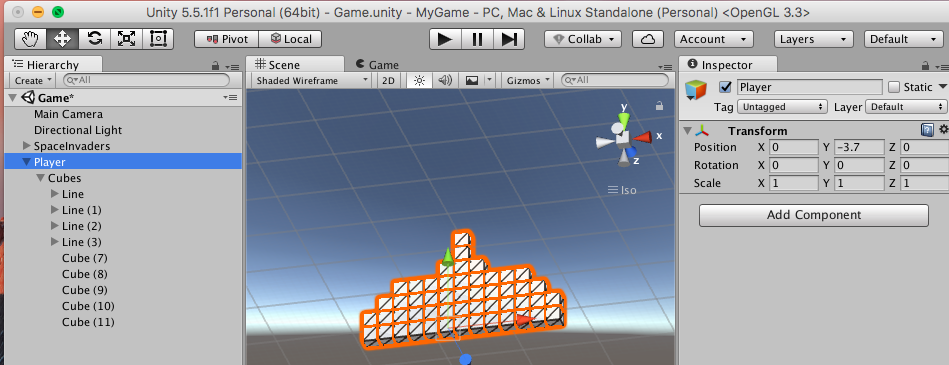
Now we have a Space Invader. To ease manipulating it, let’s create an empty Cubes GameObject, reset its Transform and drag Body, Antenna and Claws into it. Then we can finally create a SpaceInvader GameObject, reset its Transform and parenting all cubes.
By selecting Cubes let’s change its scale to (0.2, 0.2, 0.2).
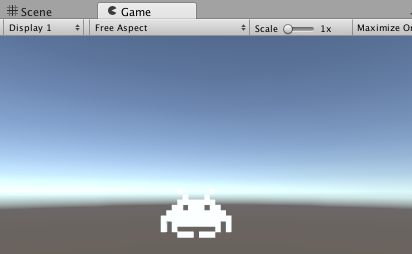
By clicking in Game tab we can see how our character is going to be seen by the player.
In our Camera let’s change the propriety Clear Flags to Solid Color and background color to (0,0,0,0).

Cloning and creating new empty GameObjects as we did in previous steps, we have our Player GameObject.
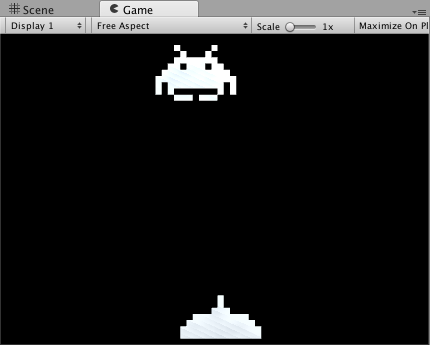
In Game tab we can see our game characters.
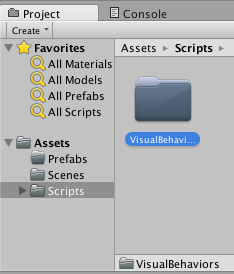
To add movement to our game, let’s use some scripts I’ve made beforehand from my Visual Behaviors project. Download or clone this project into Scripts folder.
By inspecting SpaceInvader GameObject we can add new components by pressing Add Component button.
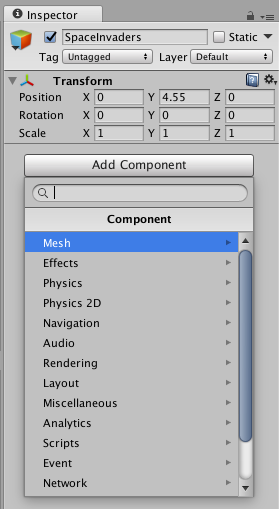
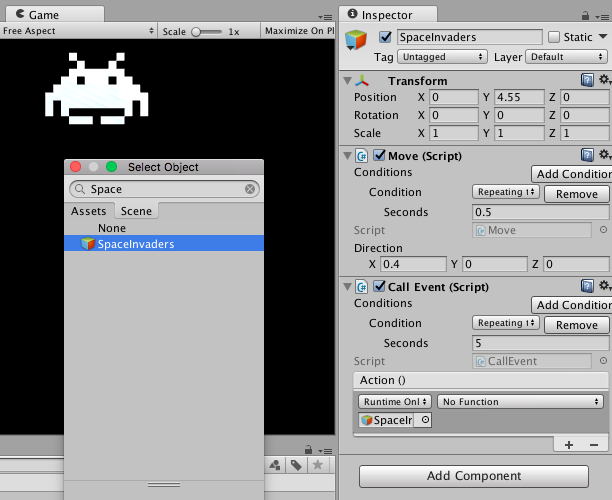
Let’s add Move script (from Visual Behaviors).
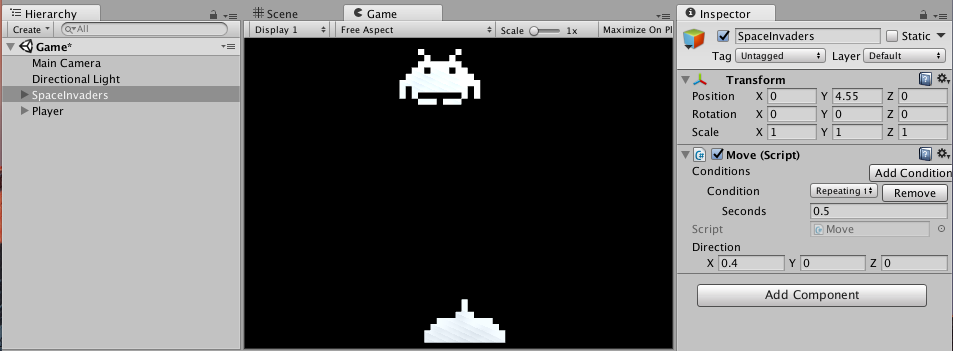
Let’s configure Move script.
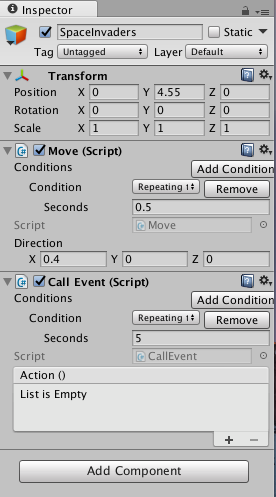
CallEvent script allows to change another scripts behaviors.
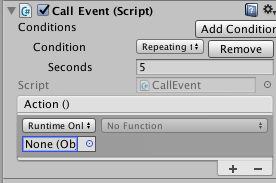
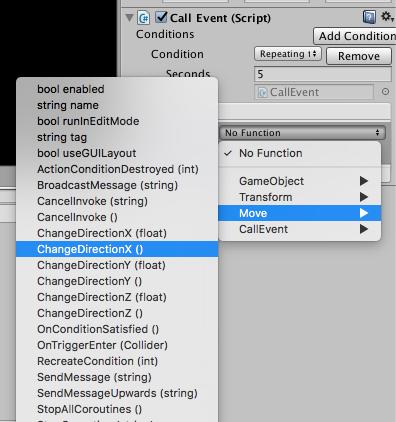
Inside Action block, let’s press + button to add an action. So we select a GameObject that should have its behavior changed.
Now, let’s choose which component method we are going to change. Let’s call ChangeDirectionX, a method that allows to invert current movement direction of Move script.
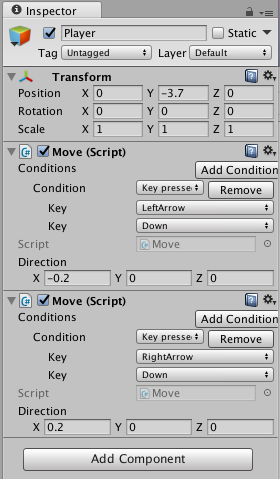
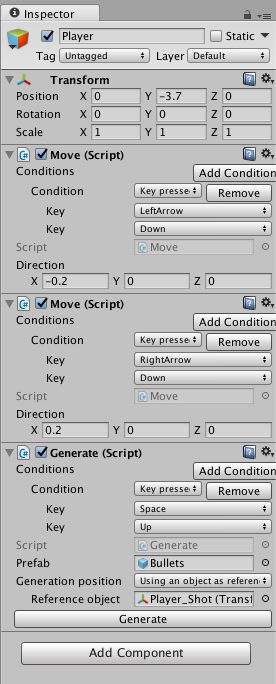
Player movement can done by two Move scripts: one for right direction and another for left direction.
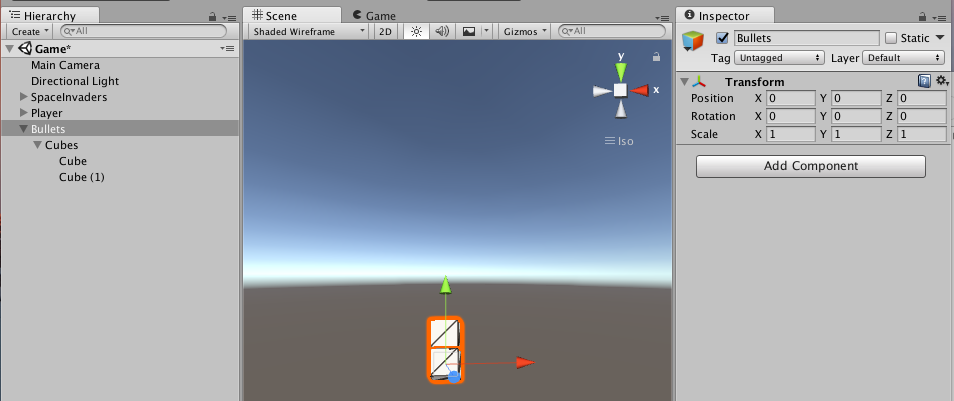
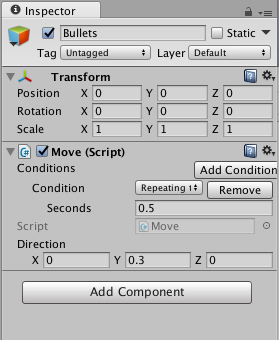
Then we create Bullets GameObject as depicted in below image:
Let’s add the Move script to Bullets in order to move up the bullets towards space invaders.
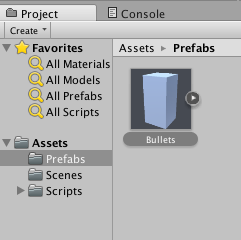
By dragging Bullets into Project tab we can create a prefab, a pre-fabricated object that can be replicated and instantiated during game execution.
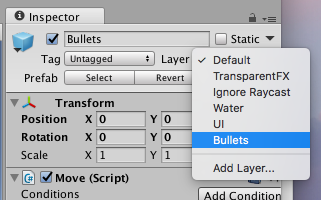
Let’s change the layer of Bullets GameObject.
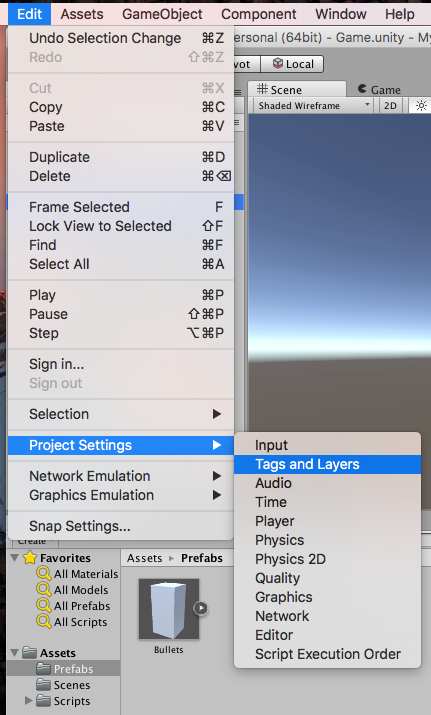
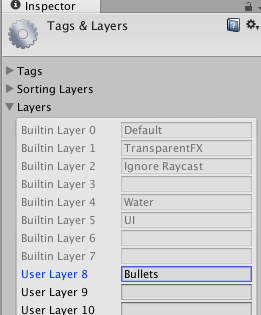
Let’s create the Bullets layer.
And then change the Bullets prefab.
When adding Generate script to Player GameObject we can allow our player to shoot.
In SpaceInvader GameObject we are going to add DestroyMe script. Let’s configure our enemy to be destroyed every time it touches a bullet, I mean a GameObject with Bullets layer.
To collision be detected, we need a BoxCollider and a RigidBody components. Let’s freeze Rigidbody rotation and define gravity as zero.
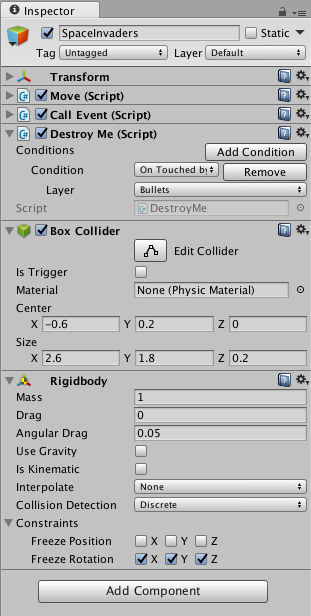
We can’t forget to activate isTrigger checkbox in BoxCollider of our enemy.
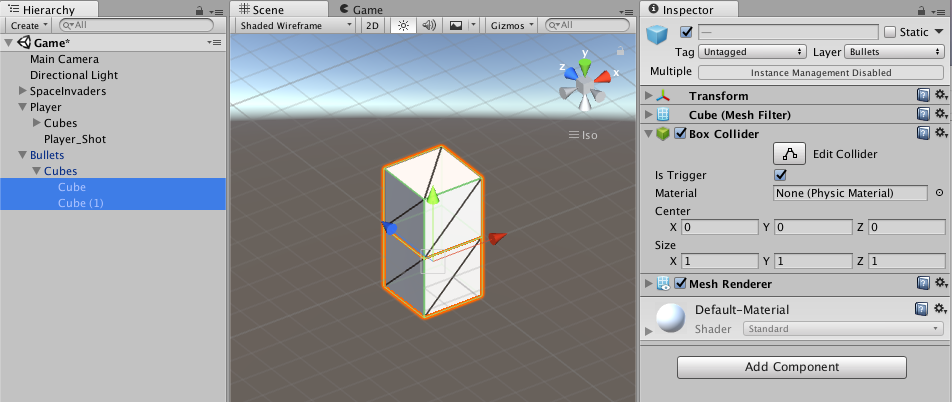
Let’s add a trigger-enabled BoxCollider in Bullet GameObject:
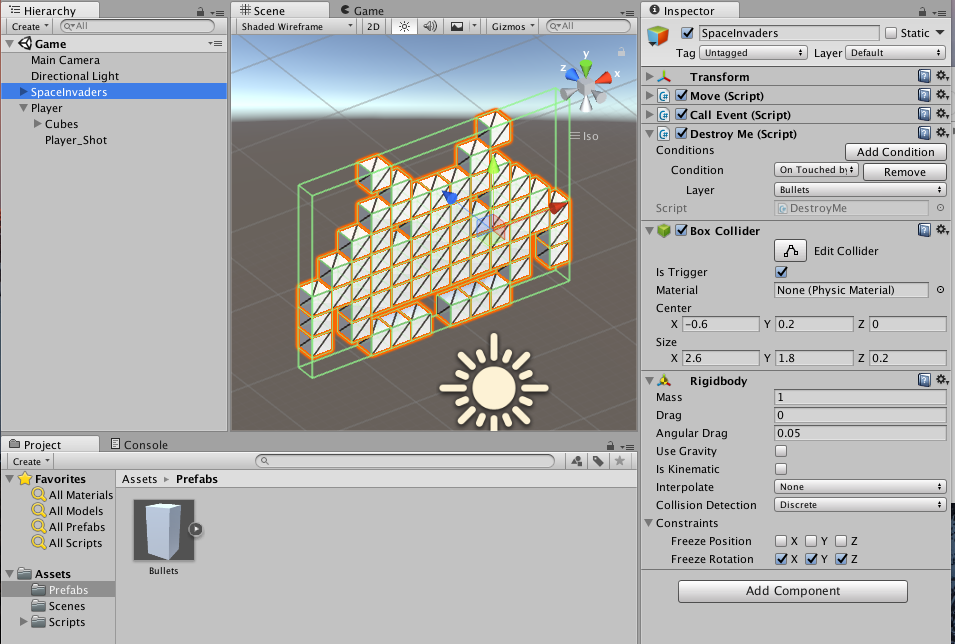
So we achieved a working Space Invader! Congrats for your first Unity game!